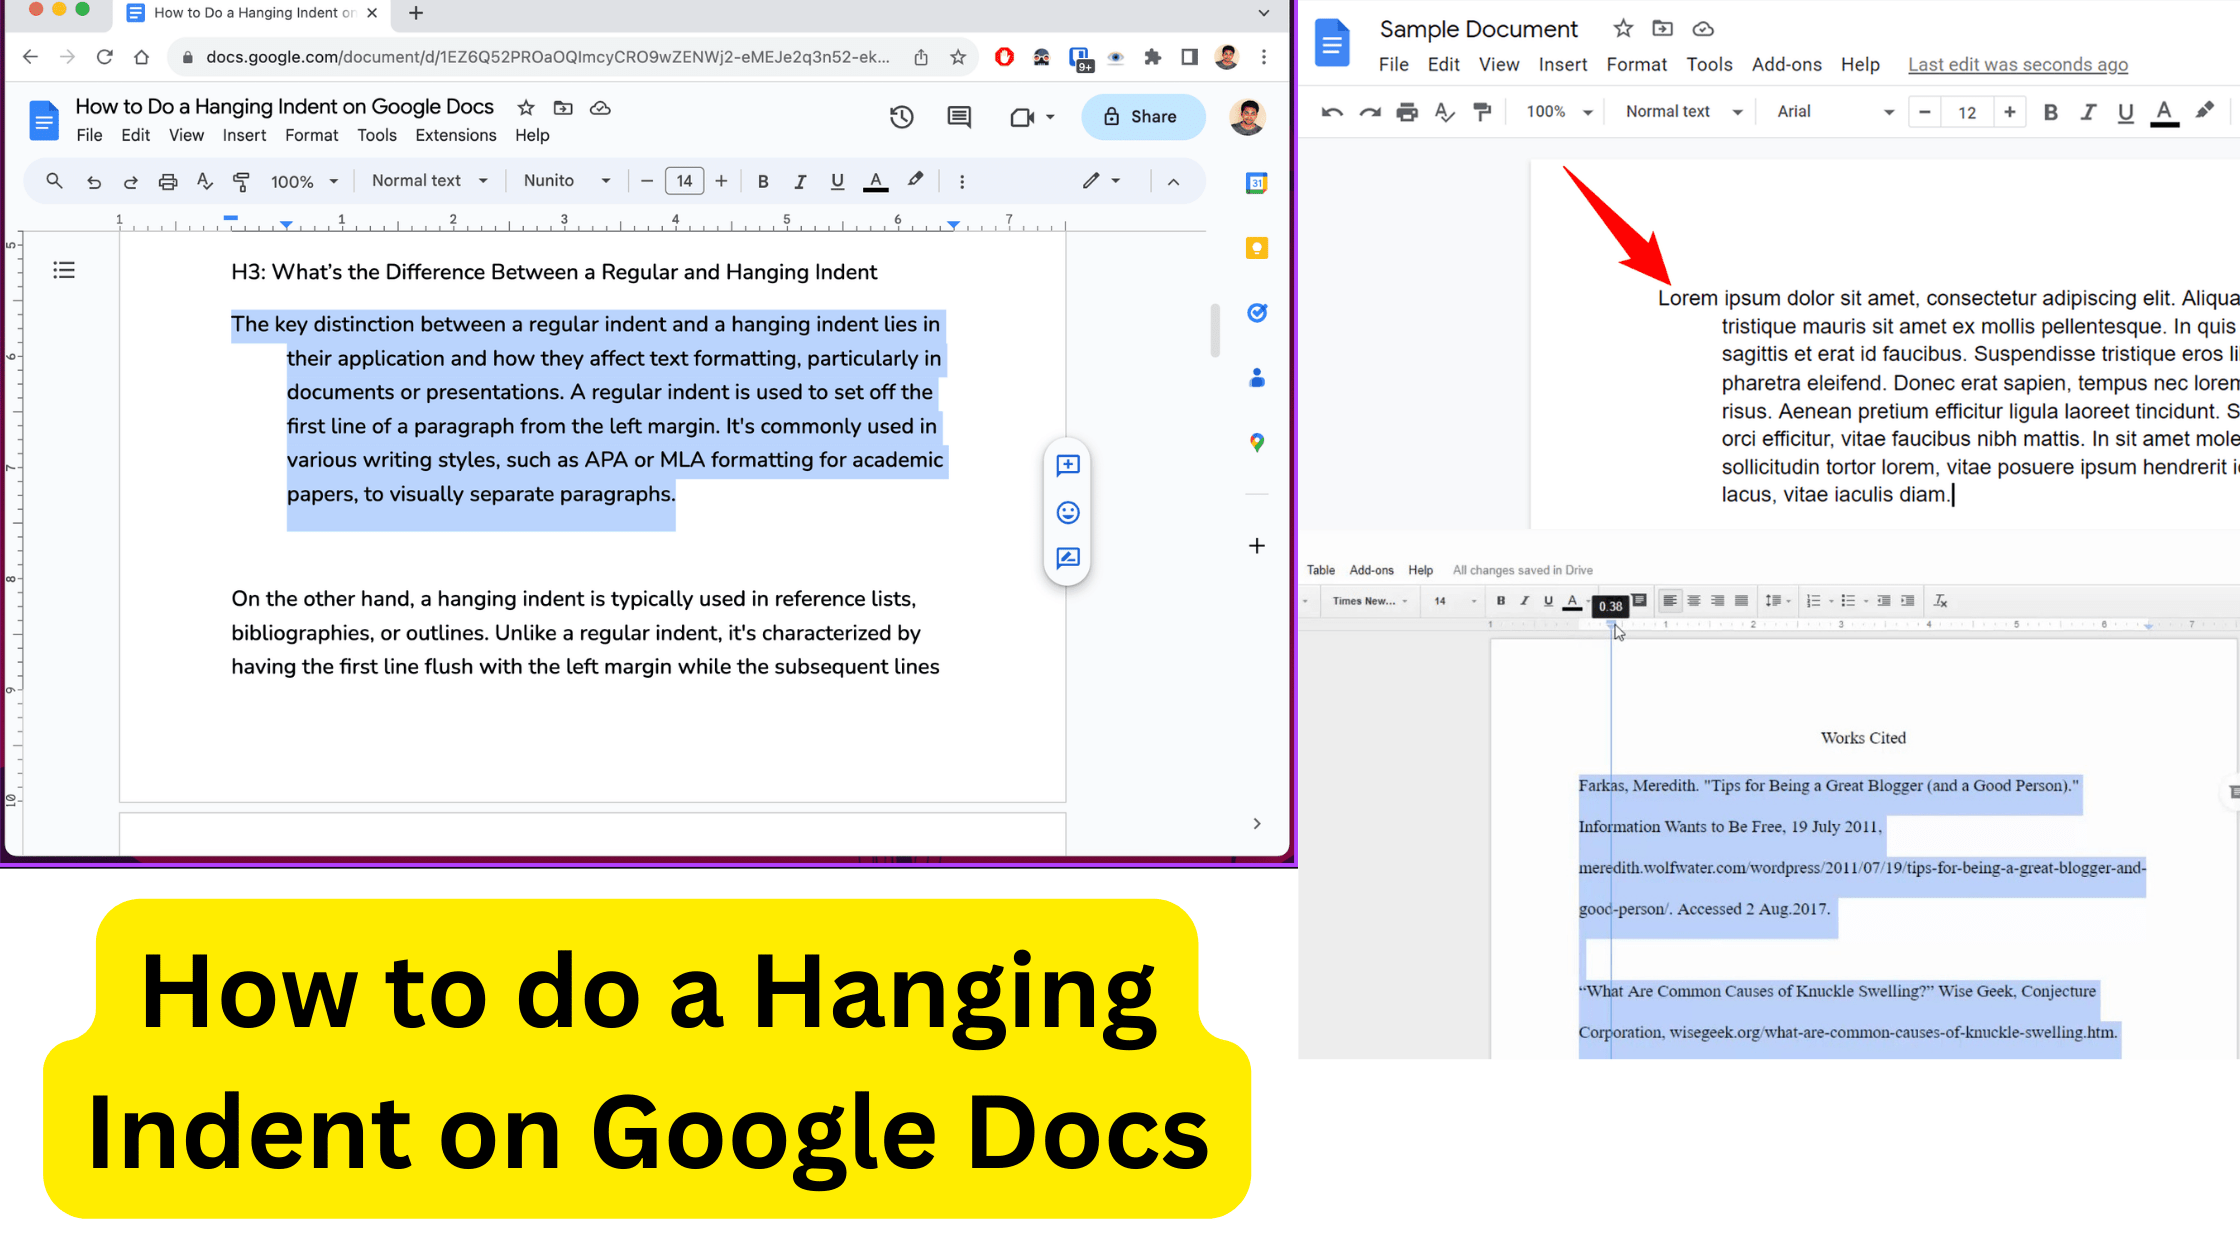
If you wanted to know how to do a hanging indent on Google Docs, then you came to write this article. This article will guide you how to do a hanging indent on Google Docs in simple steps
Correct formatting may greatly improve your document’s readability and professionalism. In academic writing, for example, a hanging indent is essential for presenting bibliographies and works cited lists. a question: how to do a hanging indent on Google Docs? This tutorial will guide you through the steps in a straightforward and succinct manner.
What is a hanging indent?
Before we get started, let’s define a hanging indent. A hanging indent provides a text formatting style in which the first line of each paragraph begins at the left margin, and succeeding lines are indented farther inward. This indentation adds visual difference to each element, making your list simpler to browse and understand.
Why Use Hanging Indents in Google Docs?
The most popular applications for hanging indents include:
- Formatted Lists: They are very useful for constructing bibliographies and reference lists, which are standard requirements in academic writing. The hanging indent highlights the initial line (author and title), while succeeding lines (publication information) are indented to improve reading.
- Outlines and Bulleted Lists: Hanging indents can help improve the visual hierarchy of outlines and bulleted lists. Indenting successive lines creates a clear difference between primary points and sub-points, which improves text flow.
- Block Quotes: Properly designed block quotes frequently use hanging indents to visually distinguish them from the main text body. This explains the cited text while avoiding misunderstandings with your own work.
How to do a Hanging Indent on Google Docs

Here’s a full explanation of How to do a Hanging Indent on Google Docs:
- Highlight the text: Choose the text you wish to style with a hanging indentation. This might be a single sentence, a paragraph, or a block of material.
- Navigate to Format > Align and Indent. Look for the “Format” menu at the top of your Google Docs window. Hover your mouse over “Align & Indent.” A sub-menu will display.
- Select “Indentation options”: In the “Align & indent” section, click “Indentation options.” This opens a separate window for configuring indentation settings.
- Select “Hanging” under “Special Indent”: In the “Indentation Options” panel, look for the “Special Indent” area. Click the drop-down menu and pick “Hanging.” This triggers the hanging indentation feature.
- Adjust the Indent Depth (Optional): Google Docs’ default hanging indent depth is 0.5 inches. This is a well recognized standard. However, you can change this number as needed. Simply input the desired indent depth (in inches) in the area next to the “Hanging” option.
- Click “Apply” once you’ve configured the hanging indent settings. This adds the formatting to the text you’ve selected.
Congratulations! You’ve successfully added a hanging indent to your Google Doc. Now your prepared list, outline, or block quotation will have a professional, polished appearance.
Bonus Tip: Use Keyboard Shortcuts for Efficiency
For those who prefer keyboard shortcuts, here’s a quick way to apply a hanging indent in Google Docs:
- Windows: Press Ctrl + T.
- Mac: Press Command + T.
This shortcut opens the “Hanging indent” option immediately, saving you a few clicks.
Additional Considerations for Hanging Indents
While the steps listed above cover the fundamentals, here are some extra factors to bear in mind:
- Numerous Paragraphs: If you’re using a hanging indent on numerous paragraphs, make sure to highlight all of the text before continuing with the formatting instructions.
- Double spacing is commonly used in bibliographies and reference lists. You may change the line spacing in the “Paragraph spacing” section of the “Format” menu.
Following these procedures and considering these extra advice will allow you to confidently write well-formatted pages in Google Docs that make use of hanging indents.
Advantages of Using Hanging Indents
- Improved Readability: Hanging indents visibly divide entries in lists and bibliographies, making it simpler for readers to skim and find particular information.
- Improved structure: Making a clear contrast between the first and following lines enhances the overall structure of your material, particularly in long lists.
- Style Guide Compliance: Using hanging indent formatting displays attention to detail and adherence to certain style rules, which are essential in academic writing.
Adding Hanging Indents into your workflow
Understanding the meaning and use of hanging indents allows you to properly use them in your Google Docs workflow. Knowing how to execute a hanging indent offers an extra sense of professionalism and clarity to your work, whether you’re writing academic papers, reports, or just organizing information.
So, the next time you’re working on a project that requires prepared bibliographies, reference lists, or specialized list styles, remember the procedures given in how to do a hanging indent on Google Docs. This basic formatting approach may substantially improve the display and readability of your paper.
For more updates, keep an eye on: www.headlineocean.com

